4 Secrets For Applying Luxury Synthetic Lashes

One of the few things in life that can give us both exhilarating delight and paralyzing dread is false eyelashes.
The article explores 4 secrets for applying luxury synthetic lashes.
Choose a Lash Type
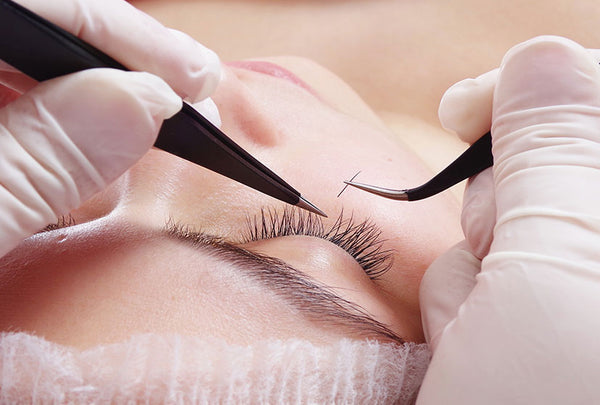
Individual, cluster or flare, and strip lashes are the three primary categories of eyelashes. When makeup retouching was not an option, professionals used individual lashes for TV commercials and skincare advertisements.
On the other hand, cluster lashes are tiny clusters made up of a few lash strands. They are a quick and simple technique to give the lashes a little more length or volume. Although this is a common choice, you must be patient and take your time applying them. If they are not integrated properly into the natural lash line, they may appear crooked and out of place. Additionally, it's crucial to cover your natural lashes and the synthetic ones with mascara and liner to make them seem comparable.
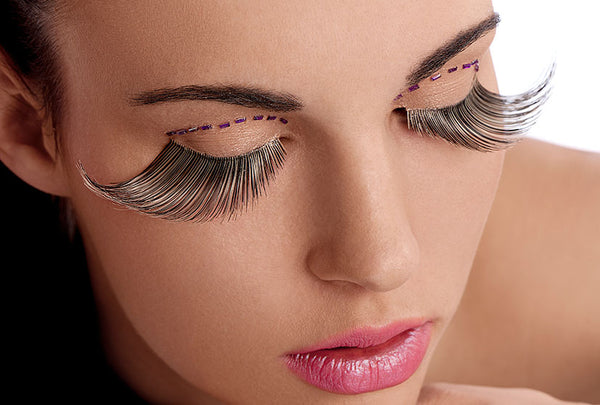
A whole strip of lash hairs designed to run down your top lash line is called a strip lash. However, they may easily be overdone and can come out as quite theatrical. This is a wonderful "dress up" activity to do for special occasions. It doesn't appear as covert as other options for lashes.
Trim the Lashes
To suit the eye as well as possible, some lash types need to have their band and lash lengths adjusted. Use lashes which blend very well with the lashes and go underneath them. You simply place them where the lashes develop, not on the waterline since they come in these teeny little clusters. Your existing lashes are simply enhanced. You may have as much drama as you desire because they are available in various lengths and widths.
Choose an Adhesive
Glue is used to adhere the lashes. Simply twist the brush at the lash's root and place the lash on top of it. You must finally meld the two together. You may also use eyelashes that can be applied magnetically or those that include a magnetic eyeliner composition, which makes it possible for the lashes to stick to the lid.
Apply the Lashes
If you opted for individual lashes, be sure to use versions that are knot-free. When applied to your lash line, they don't have a band and produce a more seamless, natural effect. Not to mention that they are an affordable choice that appears to be a mainstay in many makeup artists' toolkits.
As the adhesive dries, don't be afraid to repair any lashes that are misaligned. Simply use your finger to correct any lashes that are crooked to the left or right.
Apply the adhesive on the back of your hand and use it to coat the band of your strip lashes since doing so is simpler and only requires one step.
Before the glue dries after applying your strip lashes, you can use your fingertips to carefully adjust any lopsidedness. Here, halving the lashes is beneficial since it gives you more control over how they are positioned. As you try to sculpt the lashes to your eye shape, you won't have to be concerned about the inner or outside corners protruding.


