USD
USD CAD
CAD
 INR
INR
 EUR
EUR
 AUD
AUD
 GBP
GBP
 PKR
PKR
 NZD
NZD
Total: £0.00
Taxes and shipping calculated at checkout


You don't always have to enter a salon when it's time to take off your 3D mink lashes. Whether it is individual lashes or a strip lash, learning the proper removal process will help save you the time and cost of going to a salon for the removal. More importantly, removing your Geet 3D mink lashes properly will prevent you from ruining the pricey lashes. Here's a comprehensive guide on how to remove individual mink lashes and strip lashes at the comfort of your home.
How to Remove Strip Mink Lashes
The first step is to use a cotton swab soaked in makeup remover or a cleaning wipe to tap the mink lash band until the glue dissolves.
Once the glue dissolves, gently remove it from your eyelids. While you do this, ensure that you do not stretch the lashes from the middle part as that can damage the mink fur as it has a very soft texture. Tear the mink lashes off from one side while pinching down the sh band from the other side.
Wipe off remnants of glue from your eyelids using a cotton swab or baby wipes. After that, apply a gentle cleaning cream or remover to cleanse your eye area as well. Avoid using oil-based or harsh makeup removers. For this step, it's best to use a water-based makeup remover that's skin-friendly
After removing the mink lashes from your eyes, do a proper cleaning to prevent your lashes from going bad. After cleaning the lashes, ensure that you store them in a dry storage case for your next use.
How to Remove Individual Mink Lashes
The removal process of individual mink lashes is quite different from that of strip mink lashes as the application process is also different. Here’s how to remove individual mink lashes with your lash accessories kit:
For this step, you will need to use a professional lash glue remover to dissolve the glue bonding the lash. This is because the glue used for the application of this kind of mink lashes is the professional kind which allows the lashes to stay on for up to 5 weeks. Therefore, you shouldn't expect it to come off with regular lash remover.
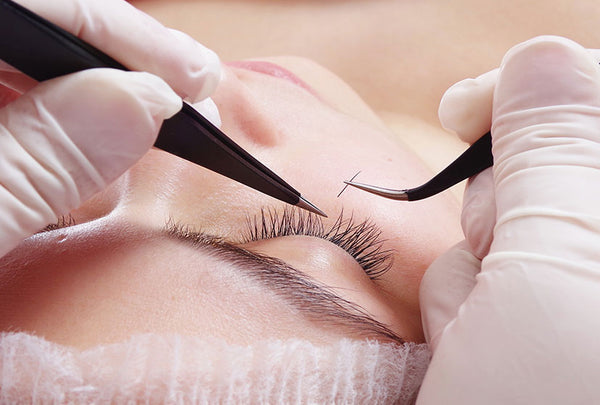
Use soft cotton swabs or tissue to apply the professional lash remover to the lash extension. Lift the upper part of the extension and rub the part where your lash line and the extension bonds. Do this step gently to prevent damage on your eye skin. Apply lash shampoo or soap to get the lash extensions off and use tweezers to remove it.
Rinse your face with warm water to dissolve any remnant of glue on your eyelids. After that, use a mild makeup cleanser to wash your face to remove leftover glue and substances from your eyelids.
After removing the lashes from your eyes, use a glue solvent to remove remnants of lash glue from the lashes. Do this gently until all the glue comes off entirely.
After cleaning your lashes, use a spray bottle to rinse them to remove the cleaning products used on them. Putting it under running water can ruin the shape and curls of mink lashes, so don't do it. After rinsing the lashes, allow them to dry before placing them in a clean, dry storage case.